
Rock Climbing season, also known as the ‘off-season’ for ice-thusiasts, can be a wonderful time of cragging and suns-out-guns-out excitement. Except for this past year in the Northeast USA where the weather was crap for 9/10 of the year. Rained almost every week, and when it did, it came down harder than an Access Fund campaign on threatened lands.
So rather than lament the terrible rock season, why not knock together some oddball pieces of wood and build a dry tooling wall? My house, a.k.a. Furnace Industries USA Headquarters, was currently undergoing some renovations, so I asked the contractor to leave me some scrap wood for a ‘proj’. Here’s how my buddy Mike and I built a super-low-budget wall to get psyched for the upcoming ice season while waiting for the cliff to dry out. Cost: $8.49 Time: 2 hrs.
If you want to go only a teensy bit bigger, you could easily bolt on some Verticallife Dry Tooling Holds available here or if you want to get serious, screw on some Krukonogi Dry Tooling Holds available here.

Materials list:
2 - Good condition pallets, Leftover from building materials delivery, or scavenged from any big box retailer. The ones we used happened to be 36” wide.
2 - 12’ 2 x 12s Leftover from roof construction. These were untreated, I know they’ll rot, but you use what you have.
1 - 4’ 2 x 12 - Rando off-cut from renovations.
1 - 4’ 2 x 4 - Pulled from the dumpster
52 - Exterior Grade 2.5in #8 Screws (or ‘fasteners’ for the O.C.D. ilk) Found in the back of the garage, or $8.47 at Home Depot.
1 - Slab of leftover LVL from renovation for the wall to stand atop so that the bottom doesn’t sit directly on the ground and rot quickly. Could easily have substituted cinder blocks.
40’ - Leftover Gym Rope. Our local gym was tossing their old top ropes during their routine rope replacement. Although not good for climbing, they are still fine for rigging the dry tooling wall.
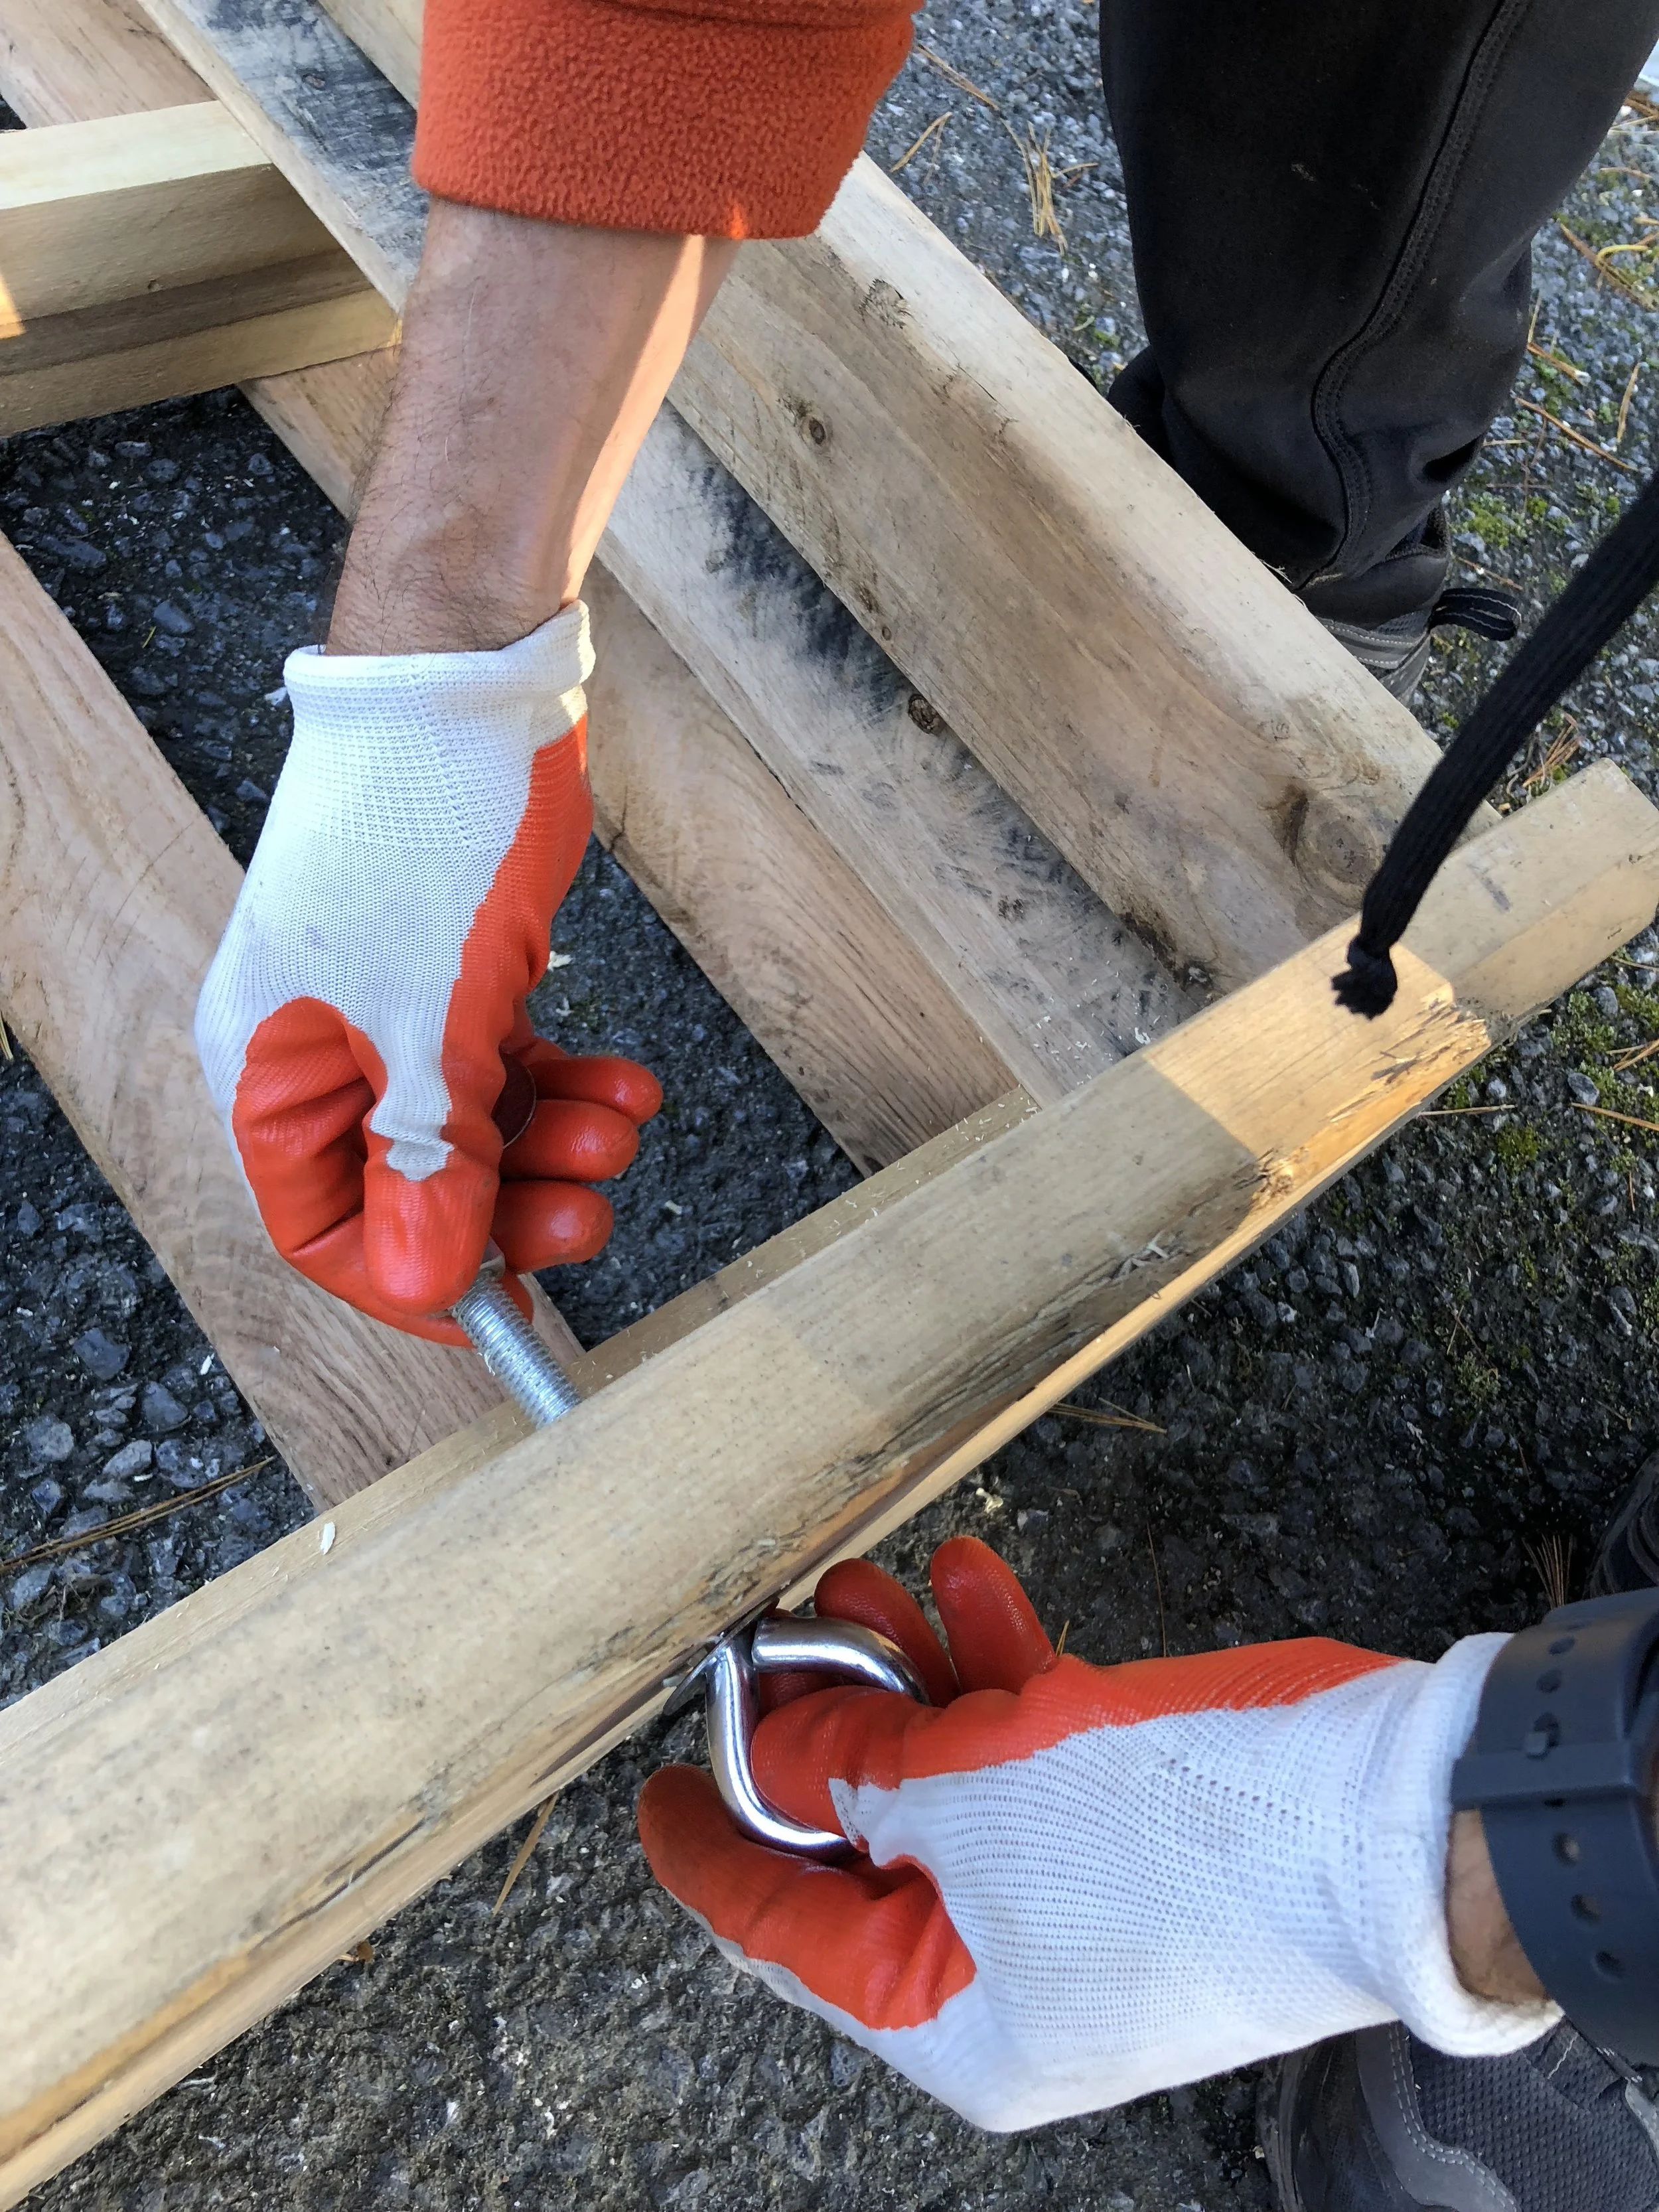
2 - 4in x 1/2” Stainless Steel Eyebolts with nuts and washers. These we did buy. $8.49 for both at our local hardware store. Probably could be found cheaper other places, but, you know, tariffs…
1 - Locking Carabiner. Just pulled one from the gear bin.
Tools:
Eye Protection and Gloves. Don’t pull a Tommy Caldwell or lose an eye.
Drill
Saw, in case you need to trim things down or cut anything to size.
Screw Bits and Drill Bits
Sawhorses or table, although we could have just worked on the ground.
Building the Wall
Gather materials and get ready to rock.
-Squeeze clamp the pallets to the 2x12’s We chose to make the top pallet flush with the top of the wall and then space the lower pallet 4” lower from the bottom of the top pallet so keep the rungs at a regular spacing. We also chose to align the front of the pallet to the front of the 2 x 12s. It was just easier to build that way.


-Pre Drill 8 - 1/8” holes long each side of each pallet. We chose to do 4 from the inside and 4 from the outside on each length of each pallet for no other reason than we thought it would be stronger.


-Slam screws in. Make SURE the screws are connecting in both the pallets and the 2 x 12s.

-Add some structure. We chose to add a short 2 x 12 at the bottom and a 2 x 4 at the top for rigidity. 2 screws each side on each.


-Add some feet. We didn’t want to have to worry about wearing rock shoes or fruit boots, so we added two rungs of scrap flooring material pulled from the dumpster and cut to size.


-Install eyebolts. Drill 1/2” holes equidistant from the sides and top of the 2 x 12’s on both sides. This is the place you do not want to take chances. These must be solid.


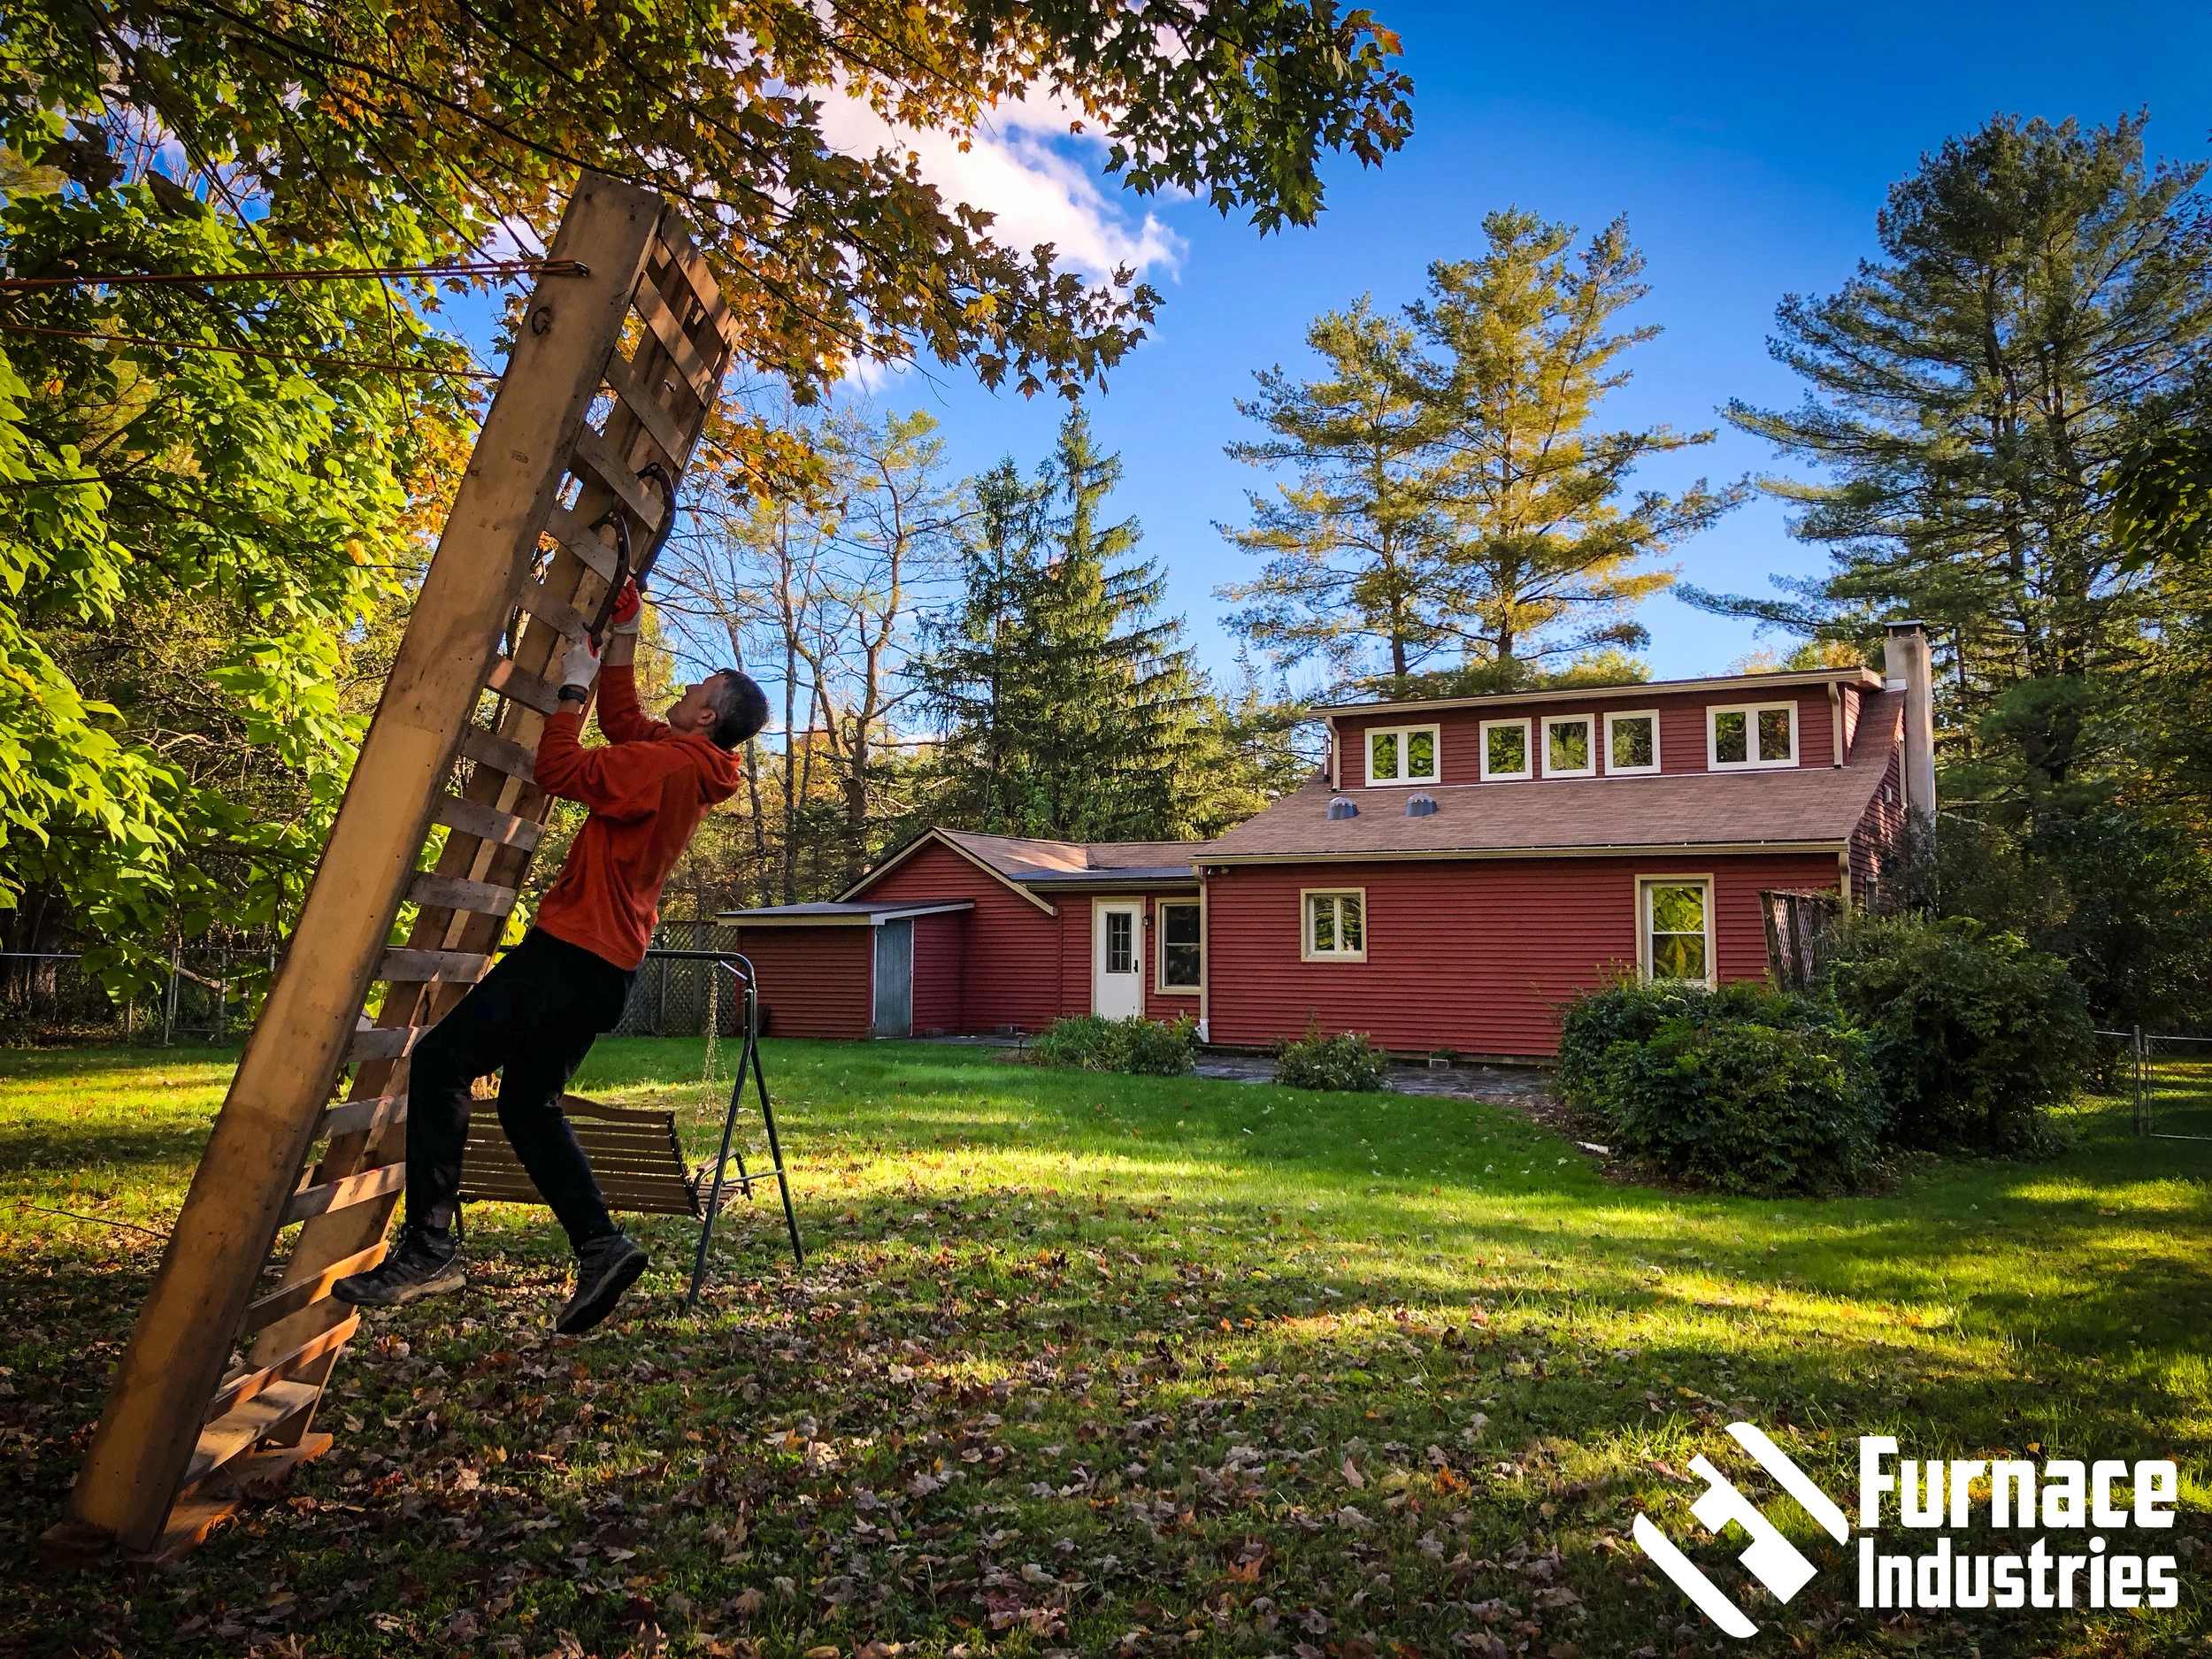
-Rig up the wall. We had a tree in the back yard with a convenient split at a good rigging height.


-Crush. As a bonus, we rigged to be able to adjust the angle.

So there you have it, a DIY Drytooling wall that cost less than a coffee date at Starbucks.
And again, if you want to get just a little bit more rad for little $, you could easily bolt on some Verticallife Dry Tooling Holds available here or if you want to get a lotta bit more rad, screw on some Krukonogi Dry Tooling Holds available here.
UPDATE 2/7/2021: The wall has been up for over 2 years now, and it’s still as solid as the day we built it.
-Bc